说明:cacti 需要 apache 和 php 的支持,在这里使用 yum 安装 lamp 环境。
1.安装 epel
|
|
2.安装 lamp
|
|
3.安装 cacti
|
|
4.启动服务
|
|
5.编辑 httpd.conf
|
|
把 “Deny from all” 改为 “Allow from all”
|
|
6.导入数据创建 cacti 库
|
|
创建 cacti 用户
|
|
导入 sql 文件
|
|
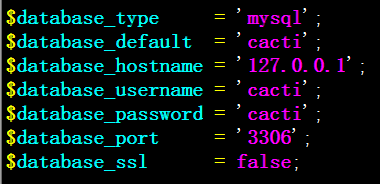
7.编辑 cacti 配置文件
|
|
更改如下
|
|
8.web 访问 cacti 并安装
浏览器访问 http://ip/cacti/
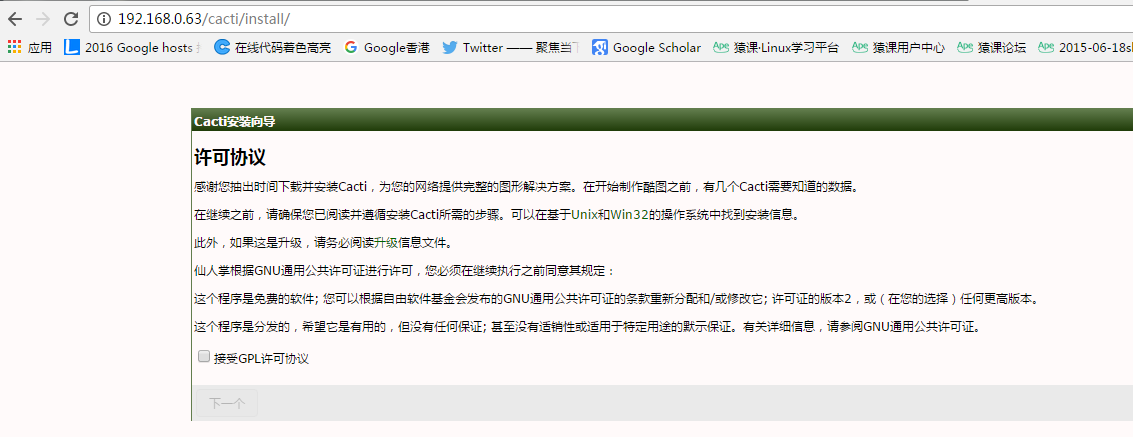
出现错误

执行命令
|
|
继续报错

编辑
|
|

修改为

执行命令
|
|
解决问题

报错
首先要升级 mysql 版本
更新 yum 源
|
|
添加 mysql5.6 yum 源
- centos6
|
|
- centos7
|
|
然后 yum 安装 mysql 就是 5.6 版本了
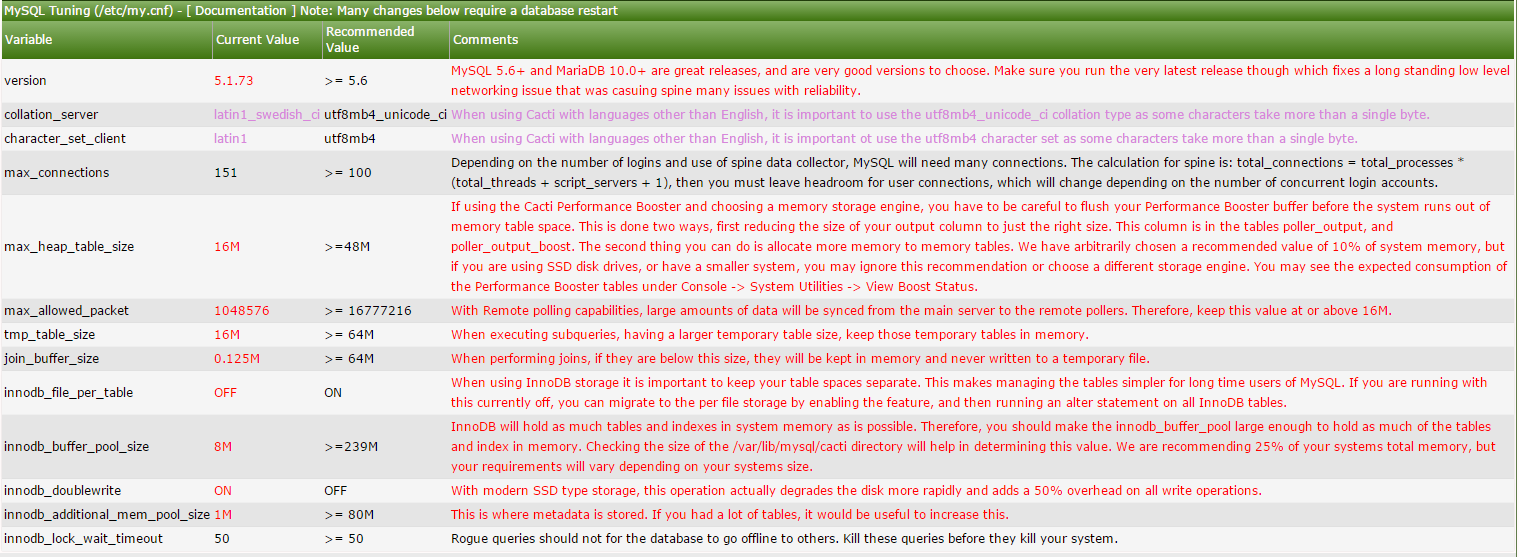
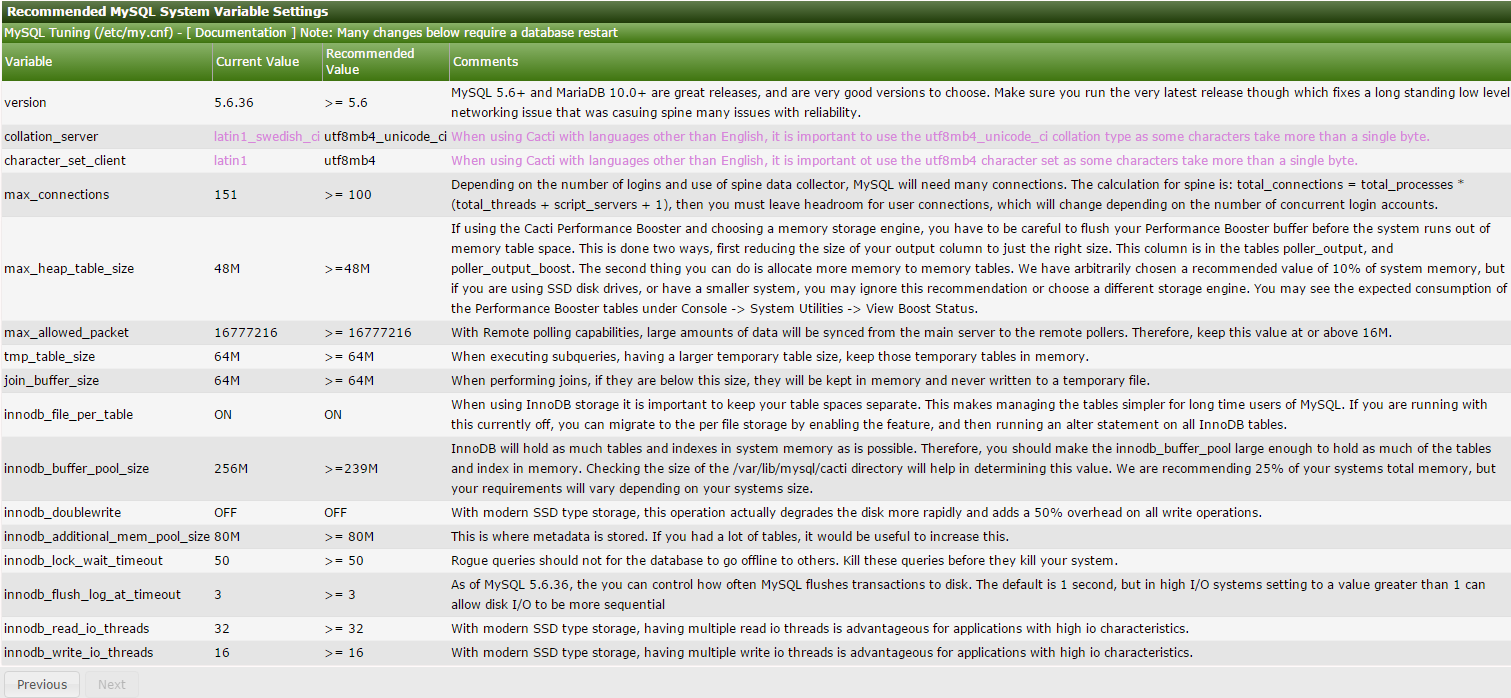
版本更换后

根据提示 修改 /etc/my.cnf 配置
|
|
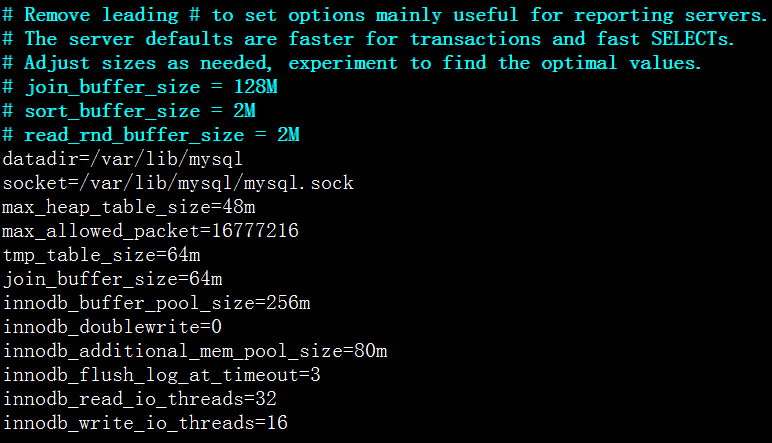
重启 mysql 服务
|
|
刷新网页
报错

安装php-posix
|
|
重启

点击下一步
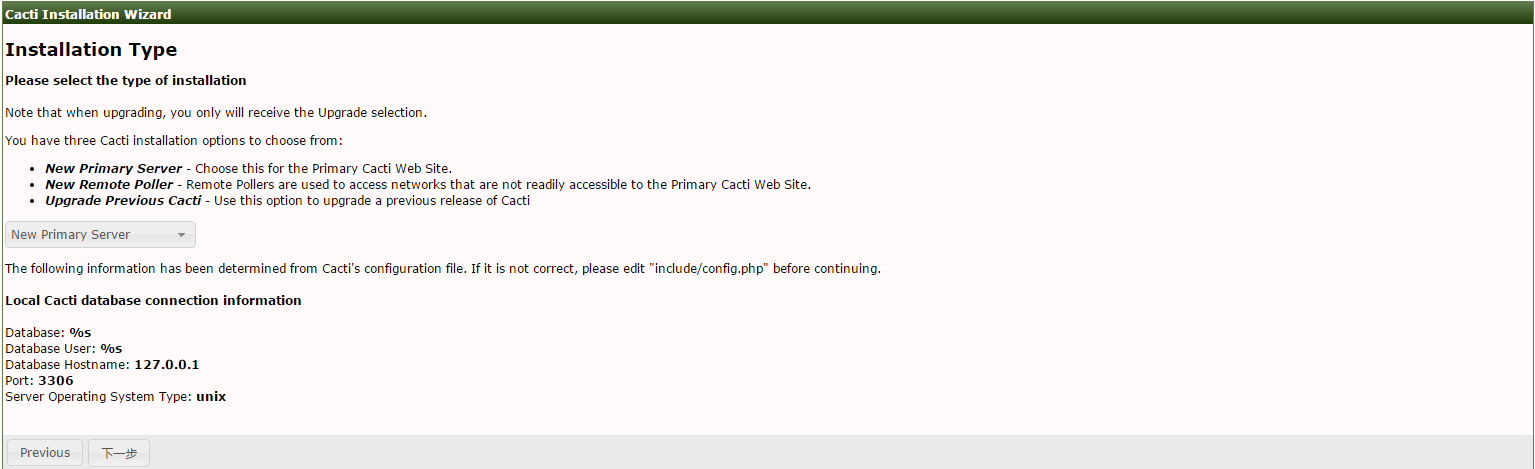
选择默认 new primary server 下一步
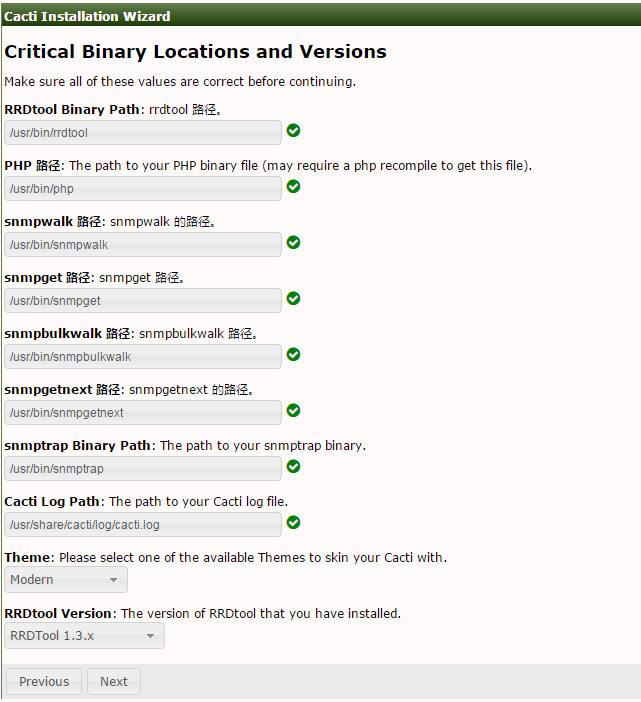
下一步
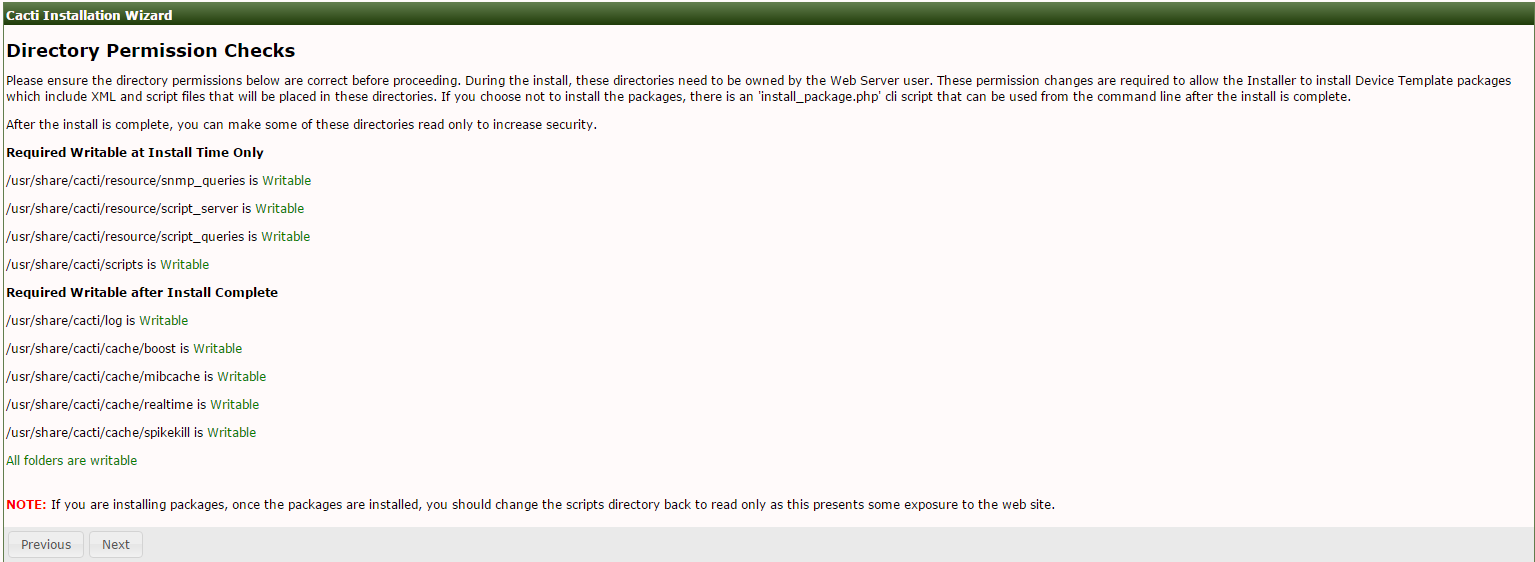
下一步
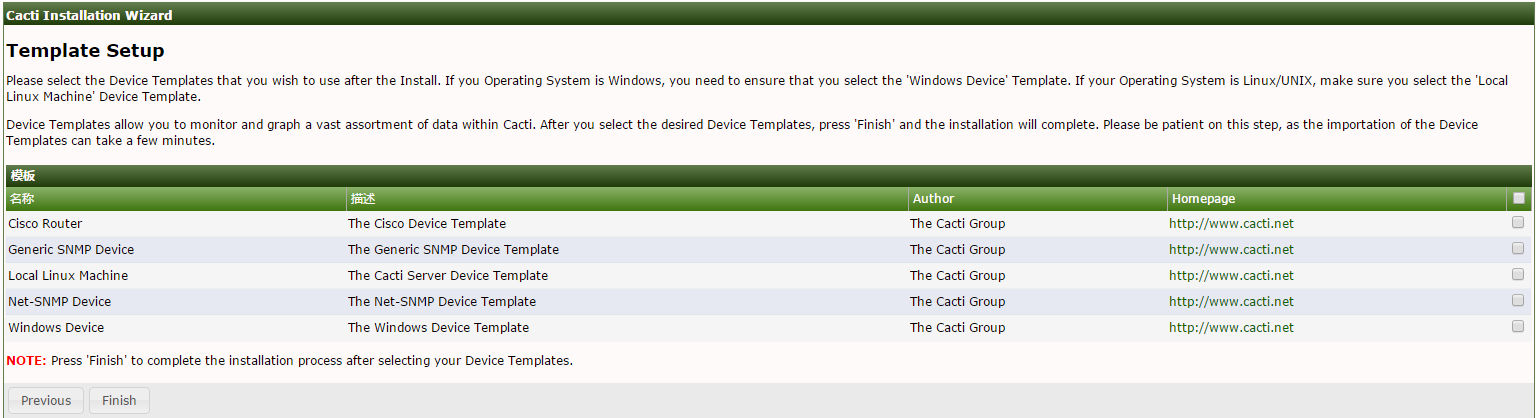
选择模版,并点完成
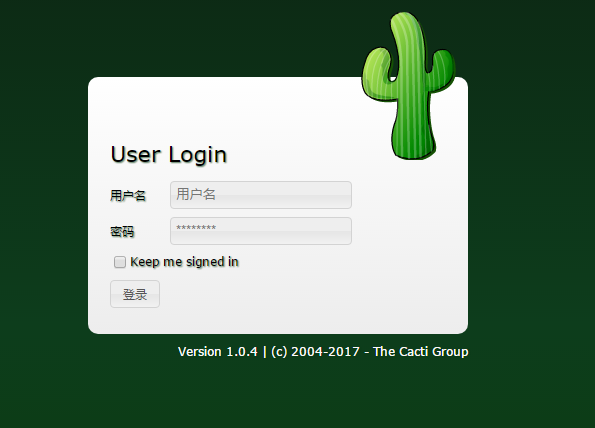
登录,这里初始用户名和密码都为 admin
初次登录强制要求更改密码。注:新密码长度必须 8 位以上,必须包含大小写字母、特殊符号、数字。

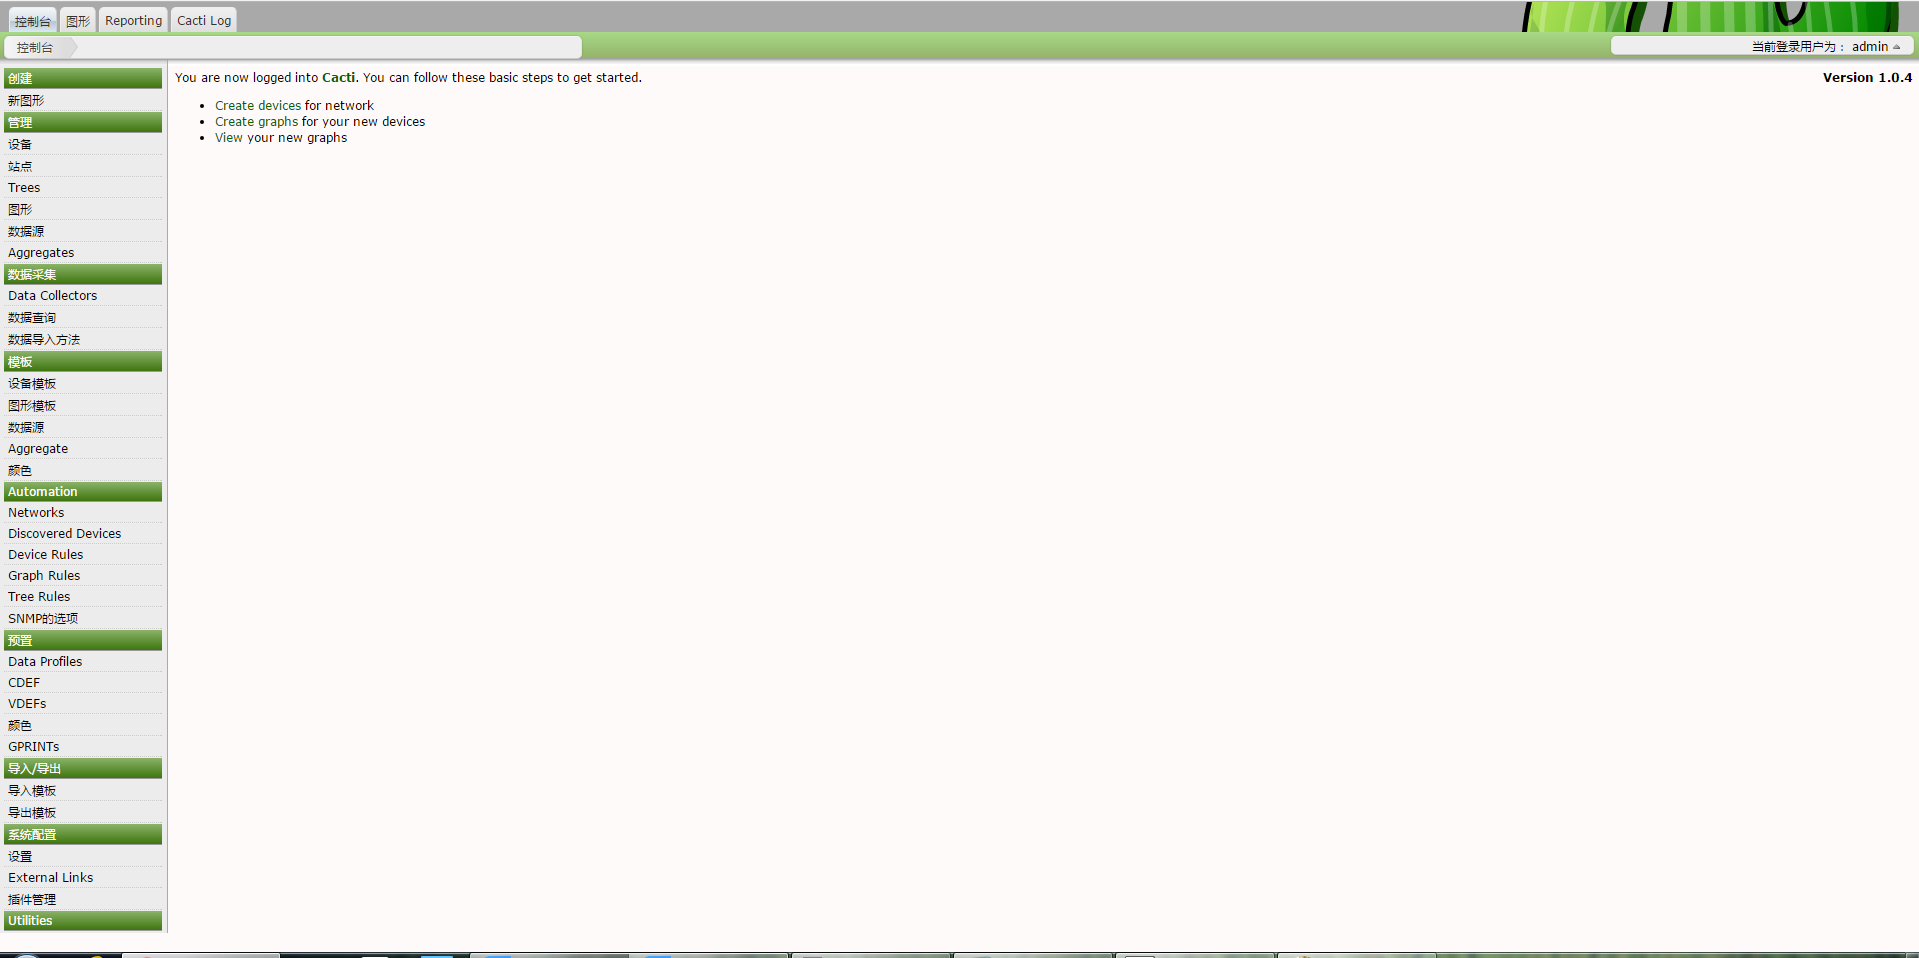
然后进入监控页面
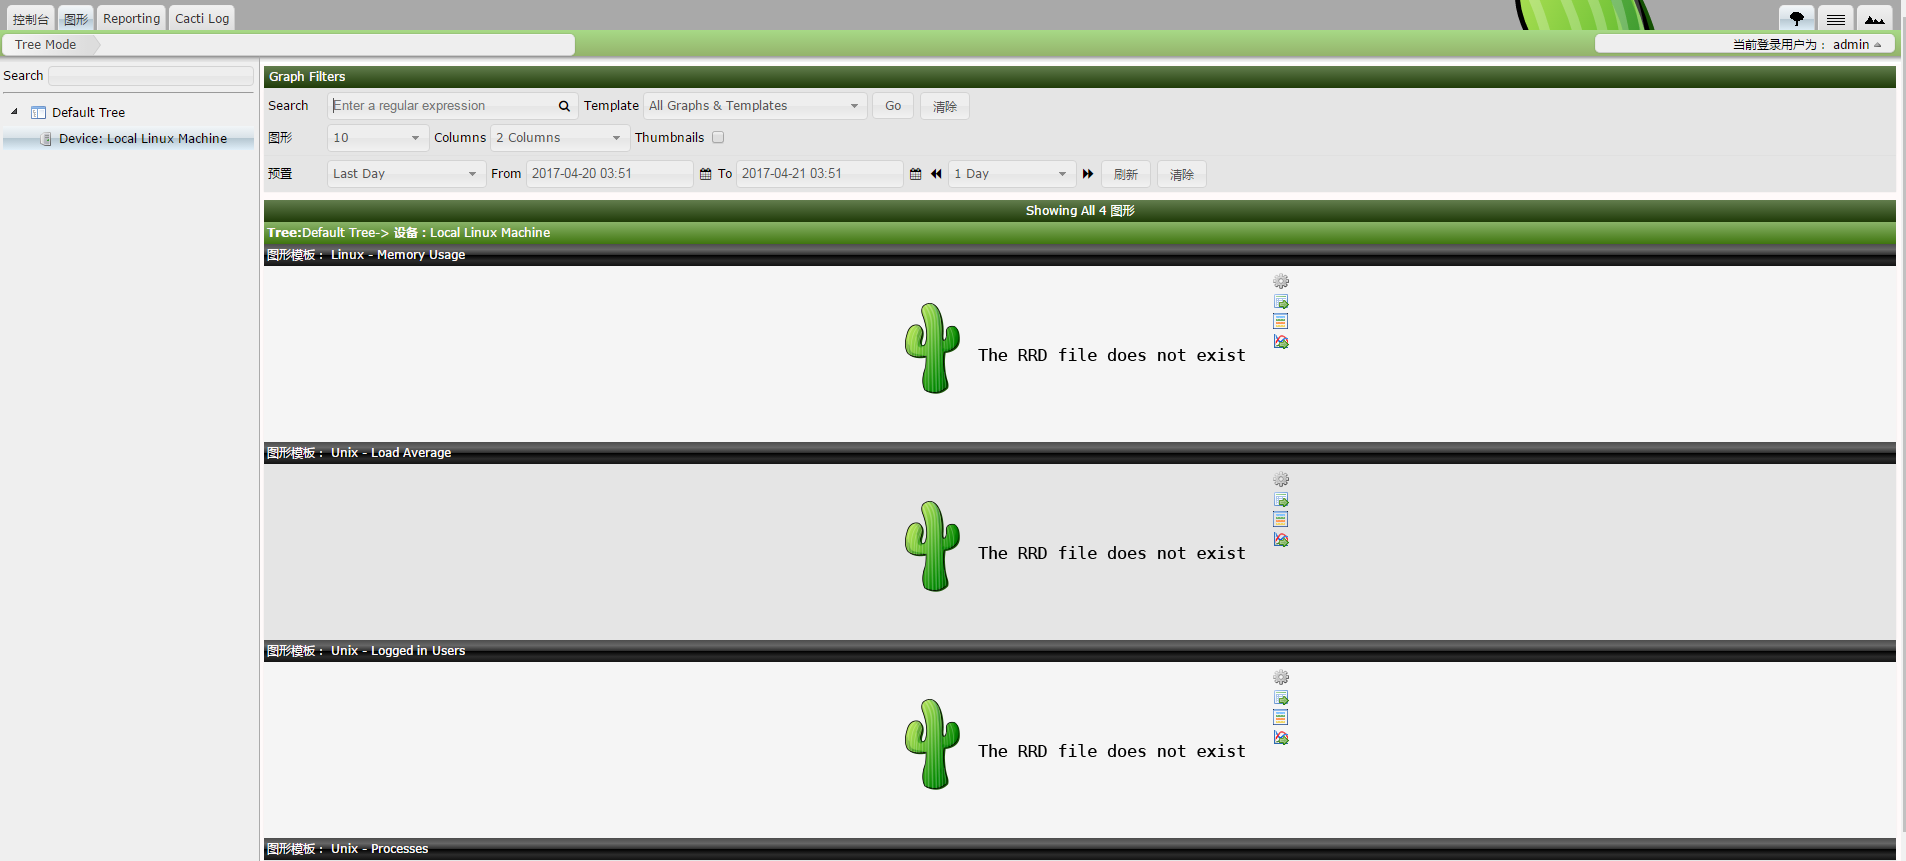
9.执行 poller.php ,生成图形,加入任务计划
登录有选择图形是没有显示的
执行脚本
|
|
执行脚本时提示很多 warning
编辑
|
|

修改为

这样再次执行就不会提示 warning 了

添加 cron 任务计划
|
|
增加
|
|
浏览器出现图形
